Tuesday, April 16, 2024

Team Tuesday with Altenew

 (Our team uses affiliate links at no cost to you)


Hello crafty friends!

It's Ceal, here. Today I am channeling my inner Jaycee Gasper with an Altenew die set and ink blending.

I watched a live with Jennifer and Jaycee using this die set and I just had to order it, it's so beautiful. I went back and watched the replay and crafted along with them. Jaycee has a way with ink blending like no other. I love how you get the colors with ink blending rather than colored cardstock. I am a fan! 

To make this card, I started with a white to folding A2 card base and a piece of white cardstock for the die cuts. I placed a Sticky Mat in the Original Misti to hold the die cut pieces as I ink blended. I didn't have the ink colors that they used on the live so I substituted distress inks. After I got all the pieces ink blended, I cut the outline pieces of the flowers and leaves out of goil foil paper.    

The outlines pieces to the flowers are very thin and delicate but they were so easy to add with the Precision Glue Press

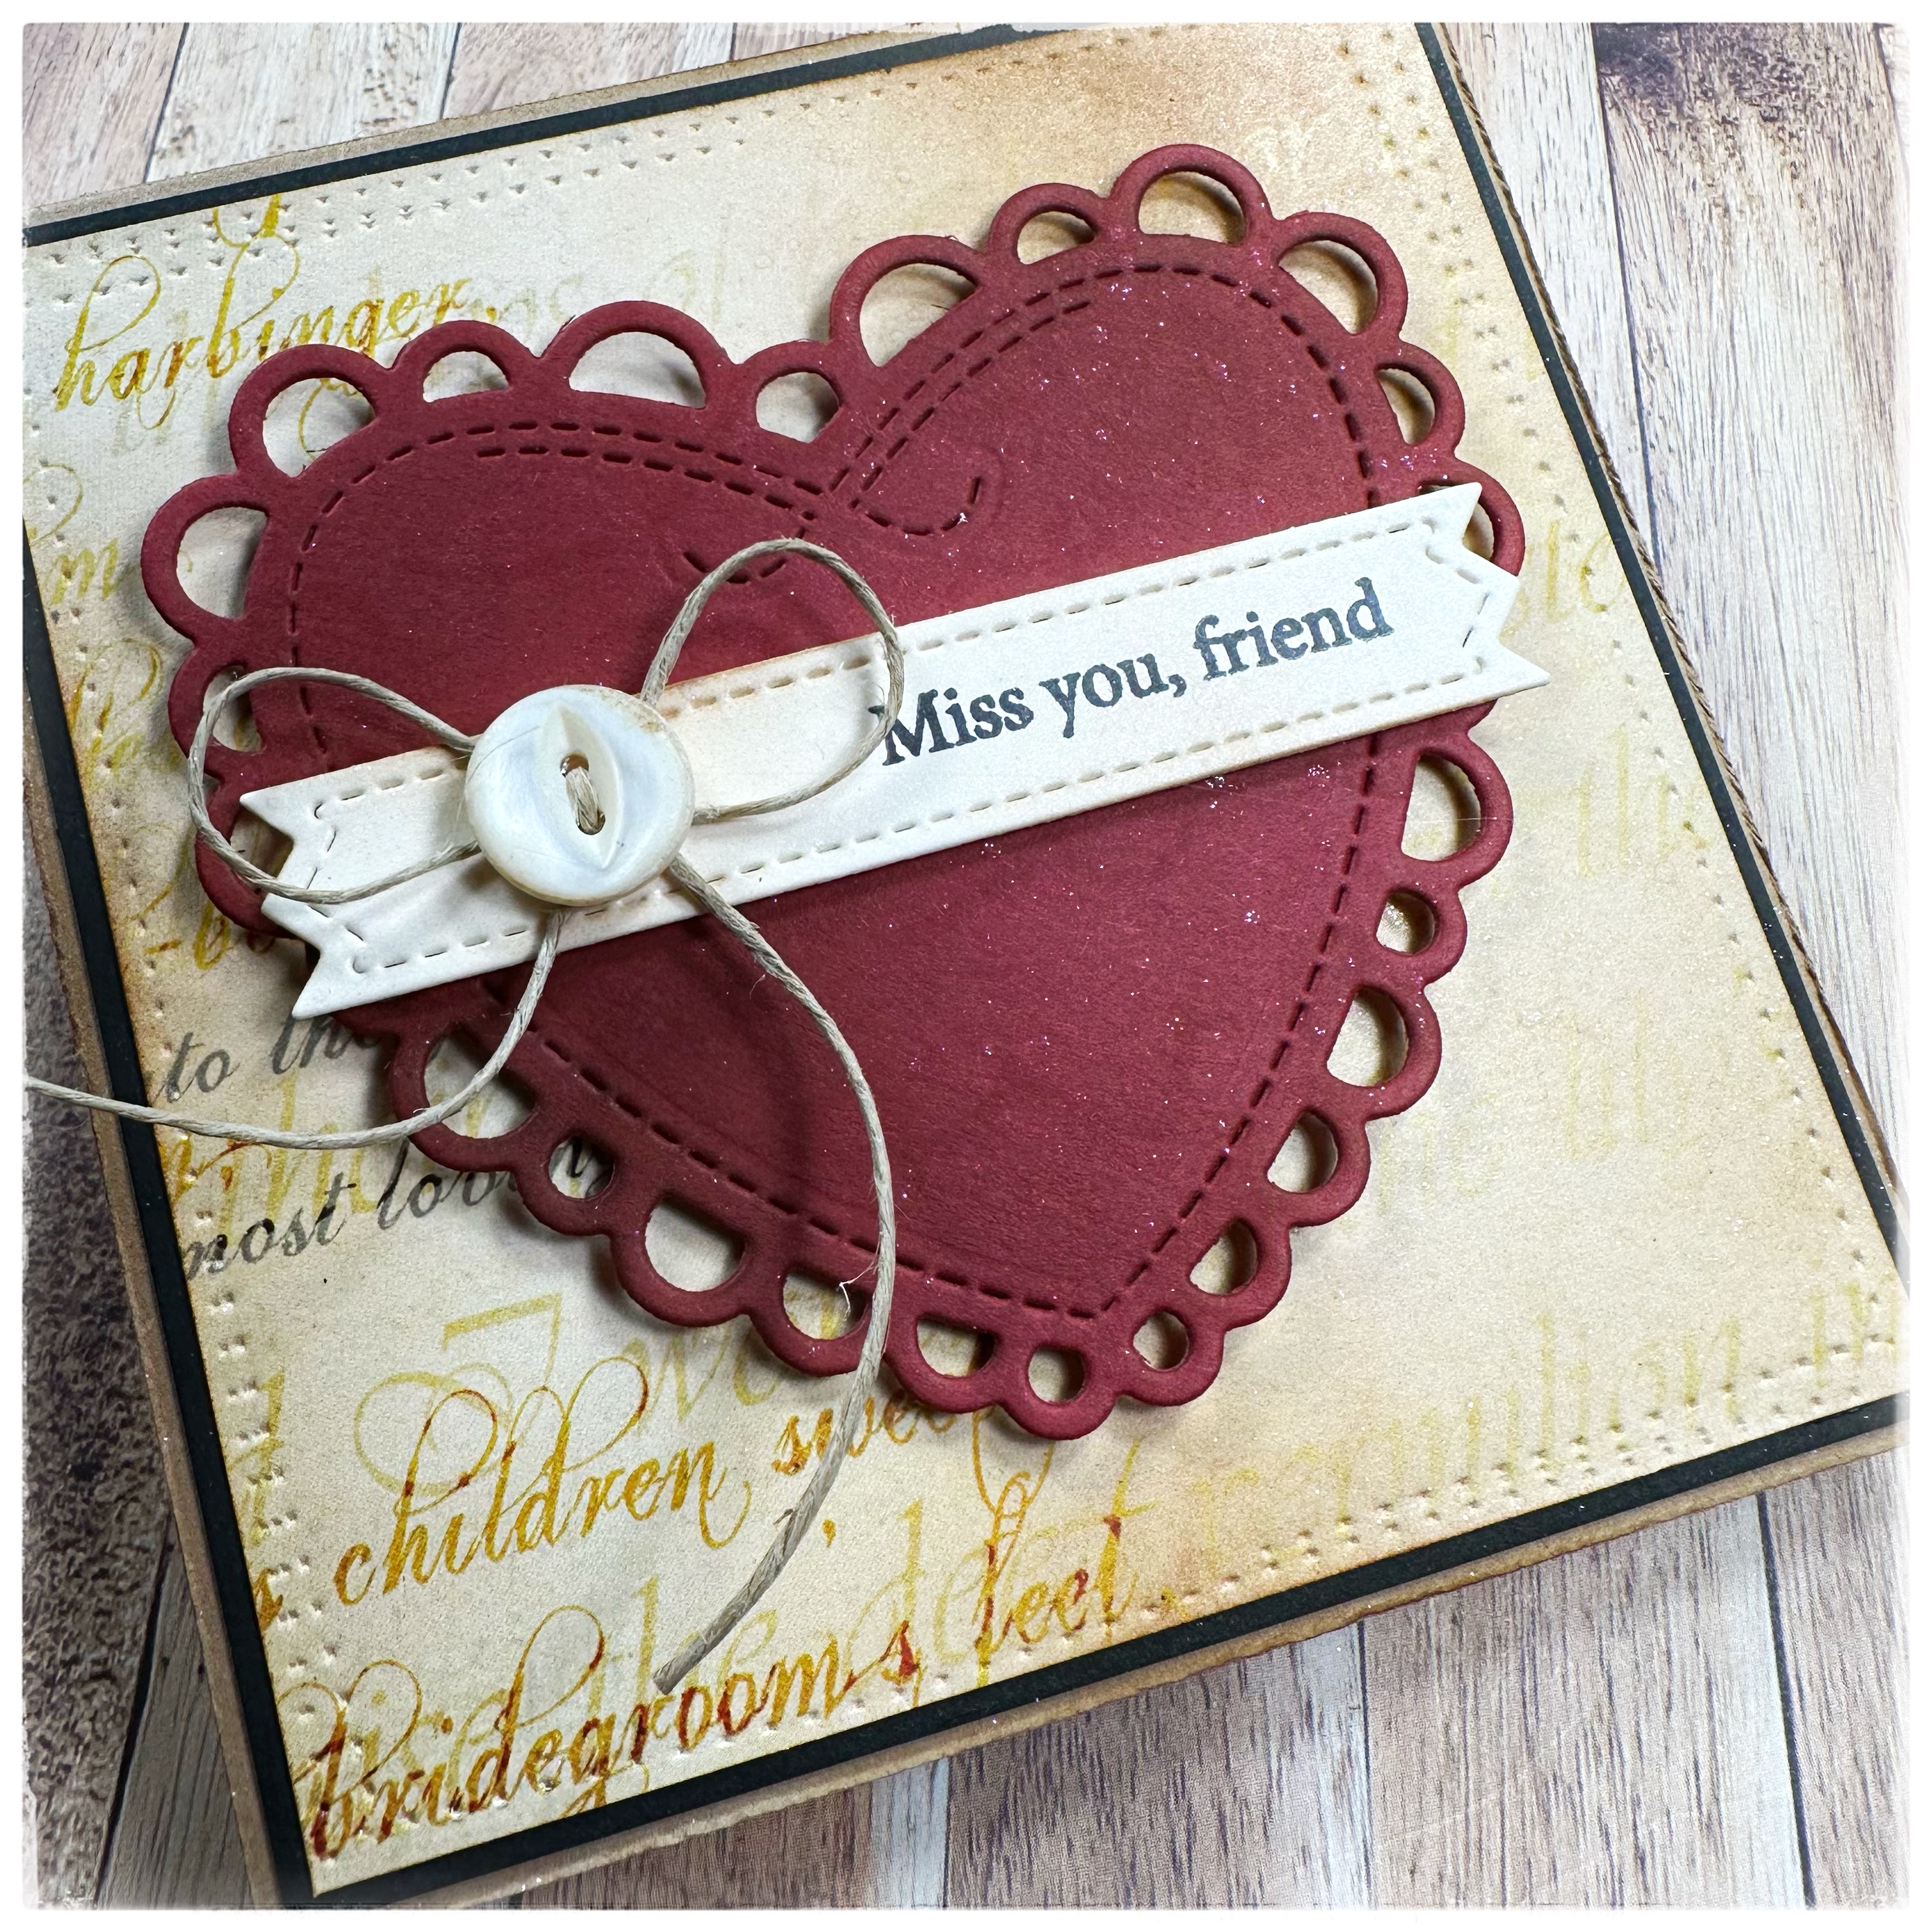
To finish the card, I added the thanks sentiment cut twice out of white for dimension and glued it to a gold backer. 


Tuesday, April 9, 2024

Do You Need Two Different MISTI Sizes?

Hello Friends,

I am excited to be back this month to share a fun card with you featuring some beautiful products. 


For this card, I used Copic Markers to color the floral arrangement and the beautiful Lovely Layers Hummingbird. I ink blended in Villainous Potion around the floral arrangement and heat embossed the sentiment in white.


Do you need two different MISTI sizes? Well need is an interesting word. For this card, I stamped my sentiment on the front using my Mini MISTI and it worked great.

However, after I completed the card I realized I wanted to stamp my name on the back of the card. When I tried to do this in the Mini MISTI with the card folded I could tell it was going to be an issue. I had already added the hummingbird and it was popped up on foam tape. 

So Original MISTI to the rescue. All my stamping still came out perfectly.


Here is the supply list for the items I used.


Thursday, April 4, 2024

Stop and Smell the Wildflowers

***Our team uses affiliate links at no cost to you!***

Hello everyone!  I hope spring has come to your area.  Where I live the season comes with dramatic storms followed by brilliant blue skies. It has me reaching for my floral stamps and hoping for time to appreciate the flowers!  

For my latest project, I used a triangle in the new Creative Corners set to align the sentiment on a precise diagonal line. I also used the triangle to mask off the upper part of the card. To ensure my paper did not move during multiple reinkings of the stamp, I placed it approximately an inch from the corners of the Sticky Mat in the Original Black MISTI. This allowed me to stamp away from the empty corners of the large background stamp. 

Once I colored the image in vibrant colors, I added a black border diagonally with the Precision Glue Press. Finally, to finish off the card, I added a Double Dip Note to the inside.    


 I hope you are inspired to try out some of the amazing My Sweet Petunia tools!

Thanks for stopping by,
Angie


Wednesday, March 13, 2024

Lucky to Have

**Our team uses affiliate links at no charge to you!**

Hello everyone! I created something green with St. Patrick's Day just around the corner. When I create, I always feel lucky to have several MISTIs at my disposal. For precise coverage and alignment, I stamped the sentiment multiple times and left it on the Original  MISTI. Then, I moved to the Mini MISTI to stamp the clover. I keep my stamps in the MISTI until I finish a project so that I can easily make another if I make a mistake along the way. 

Additionally, I used the Cut Align Ruler, the Precision Glue Press, Sticky Mats, and the Alignment Grids. You can find these tools and more in the MSP Retail Shop, which you can access HERE


Thanks so much for stopping by!


Miss You, Friend


 Hello everyone! Anna here, with greetings the pacific northwest! The cards I’m sharing today were made using recently released dies and stamps from Impression Obsession. Adorable layered heart dies paired with friendship themed stamp sets filled with sentiments, perfect for making cards and tags for friends near and far.

I love how the Mini MISTI allows me to stamp sentiments in the perfect spot, every time! On card panels or on smaller sentiment banners, I can stamp with precision every time, giving me the perfect placement and impression for every project!  Sentiments are stamped perfectly placed, and stamped images on watercolor paper (or other textured papers) are a breeze to create!

Thanks so much for joining me on the blog today!

Tuesday, March 12, 2024

Perfect Placement with Perfect Rulers

Using the T-Square rulers from My Sweet Petunia will help you get the masterful placement of your sentiments every single time for all your cards. 


These sweet little love birds are from the Lovely Layers: Love Birds and Lovely Layers: Birdcage and By Your Side stamp set from Honey Bee Stamps.


I used the cute little T-Square rulers from My Sweet Petunia to get the fabulous placement of my sentiment. I measured it to be centered and then used it to be straight.

Did you know you could use the My Sweet Petunia rulers in the MISTI? Pretty cool right?


Thursday, February 22, 2024

Happy Birthday Flowers

***Our team uses affiliate links when possible at no charge to you!***

 Hello there! Angie here, and I'm thrilled to feature a birthday card today! It was a lot of fun to make and I'm happy to tell you that the MISTI tool made inking this large stamp a breeze! To prevent the cardstock from moving during several inkings, I put a Sticky Mat inside my Teal Original MISTI. The Sticky Mat held the cardstock securely in place as I stamped repeatedly to get a complete impression. Moreover, I love using Double Dip notes inside my cards, especially when the card base is dark! Additionally, I used the Precision Glue Press to adhere the die-cut scene to the card base.

Below you will find a video featuring the new Creative Corners! Lydia shows what is new and several different ways to use them!  


Thanks so much for stopping by!