React and CLI
React have its own CLI but currently they are only supporting creating an app (create-react-app). create-react-app used to generate the boilerplate version of a React application thru command line.
npx create-react-app my-app
create-react-app has taken care of setting up the main structure of the application as well as a couple of developer settings. Most of what you see will not be visible to the visitor of your web app. React uses a tool called webpack which transforms the directories and files here into static assets. Visitors to your site are served those static assets.
~ codecademy.com
Each of React app that you or your team created have the same structure which is great for consistency across applications.
However UI development is not only app but also developing a components, modules and pages. Developer should know what need to be developed by looking at the wireframe that been provided by the designer.

Without defined structure, you will have mixture of structure in your applications
Dev 1
- Dashboard page
- Header component
- Card component
- Graph component
Dev 2
- Dashboard page
- Header module (container for search component, icons component and dropdown component)
- Statistic module (container for 1 variant of card component)
- Multi variant Card compound component
Dev 3
- Admin page
If 3 developers working on same project, you might getting 3 different structure used in the project, yuck!
CLI for generate the boilerplates (component, module and page) will added benefit of providing a consistent structure.
Lets start by setting up the CLI tool (plopJS)
1. Setup the CLI
We use plopJS, the micro-generator framework via command-line. plopJS template is using powerful templating-engine called Handlebars. Handlebars provides the power necessary to let you build semantic templates effectively.
Steps
- Add plopJS into package.json
"devDependencies": {
  "plop": "^2.3.0"
}
and run:
npm install
2. Define the structure
pages
Container for modules. Page manage communication between modules inside it.
<Page>
 <ModuleA />
 <ModuleB />
</Page>
modules
Container for components. Module manage communication between components inside it.
<Module>
 <ComponentA />
 <ComponentB />
</Module>
components
Feature for the module.
<ComponentA>
 <section>
  <article>
   Article
  </article>
 </section>
</ComponentA>
3. Create a plopfile config
- Create "plopfile.js" create the plopfile.js in the same path as package.json.
module.exports = function (plop) {

    plop.setGenerator('component', {...})

    plop.setGenerator('module', {...})

    plop.setGenerator('page', {...})

};
For this tutorial/article, we will go thru on creating generator for a component. Complete generators can be found here
templates
script file

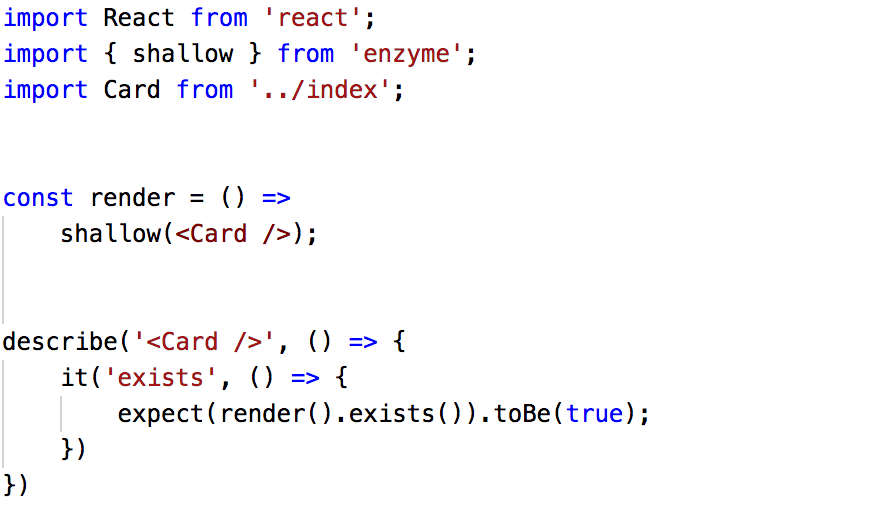
test file

style file

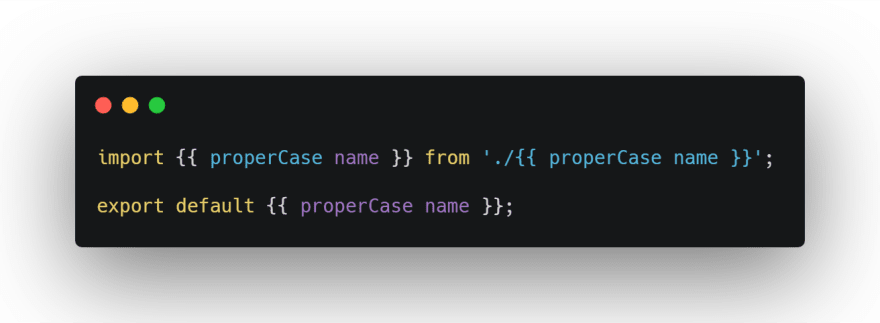
and index file
save all the templates inside folder plop-templates
4. Create a generator
As informed, we will show generator for component only.

Everything seem to be ready, lets test the generator.
I add new npm task "cmd" that will run "npx plop". If all of above setup correctly, you will see list of generators to choose

start answering the question and once completed you see the component been generated

And lets is walkthrough what have been generated:
Card.js

Card.style.js

Card.test.js
index.js

Summary
CLI makes it easy to create an app, page, module and component that follows the best practices and structure defined by you and your team. Developers have other things to worry about and by automating component generation not only save their time but increase efficiency.
You can download the full source code here.
https://github.com/abumuawiyah/react-boilerplate


Top comments (0)